Creating Lists
Capsule uses the term List for contact reporting. This section explains how to create Lists and their uses.
There are two steps to creating a Contact Lists:
- Filtering to get the Contacts you want in the List
- Sorting and ordering the information in your List
After creating your List it can be saved, and the same report can be run at a later date with the same filters and structure in place.
Filtering to get the Contacts you want in your Report
To select the Contacts you want to include in your report, you can add a number of filters that reduces your contacts down to the list you are wanting:
1. Go to People & Organizations
2. Click on Tag or Name for filtering by the Tags applied to your Contacts or by their name
3. To add more filters, click the More filters option. Keep adding as many filters as needed to get to the List of Contacts you are wanting
Each added filter has an implicit AND between itself and any other filter used.
4. Each filter condition has its own set of “operators”. eg. when filtering for a text field you can use is or contains eg. when filtering for a date field you can use is older than or is after
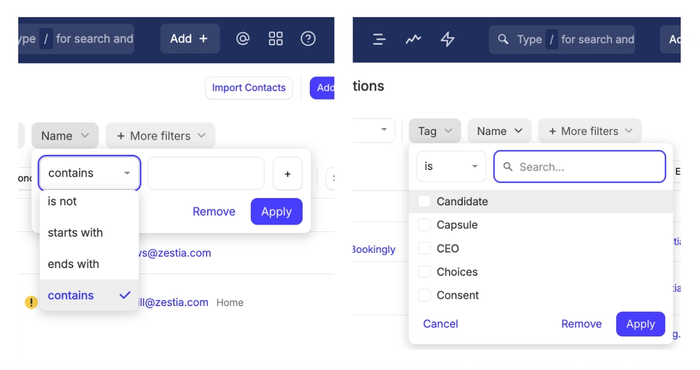
5. Click Apply and you’ll see all the contacts matching your filter(s).
Filtering People based on their linked Organizations
For certain fields like name, Tags, and Custom Fields, you can filter for a list of people based on the details you’ve got recorded on their linked Organizations. Eg, This is useful when you’re working with companies that you have categorized by industry, and you’d like to email or export a list of all people who work for those companies.
To use these filters:
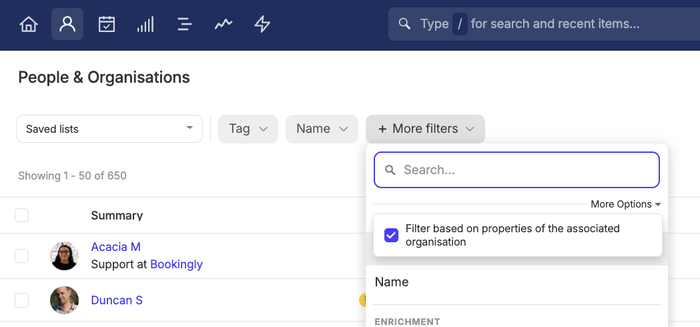
- Click More Filters
- Click on the arrow next to the words 'More Options'.
- Check the box to Filter based on properties of the linked Organization
Filtering for Contacts with linked Tasks, Projects and Opportunities
When you need to find all Contacts who have open Tasks linked to them or who are linked to at least one Opportunity then you can do the following:
- Go to People & Organizations
- Click on more filters and filter for either [Has open tasks], [Has projects] or [Has opportunities]
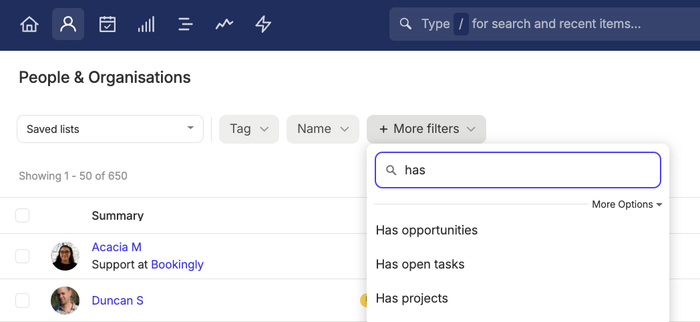
- If you've selected [Has projects] or [Has opportunities] then you get to select to narrow it down by just Open, Closed and Won or Lost for Opportunities.
- Click Apply to see all the contacts matching the filter you've selected.
As always you can combine this filter with any of the other available filters.
Filtering Contacts using multiple values
Sometimes you need to find Contacts based on a range of values - for example, a range of different Tags. You could be looking for Contacts that are either Tagged with Customer OR Member OR Supplier. To do that you would use the checkboxes next to each tag in a single filter. Here’s how it would work:
- Go to People & Organizations
- Click the Tag filter
- Now check the box next to each of the Tags you want to use in the filter and click Apply
- This will give you a list of all Contacts that are tagged with either Customer, Member or Supplier or any combination of them.
- You can use a similar approach for other fields.
Filtering Contacts by Team
If you’re using Capsule on the Growth, Advanced or Ultimate plans you may want to filter your Contact list by Team.
- Go to People & Organizations
- Click More filters and select Team
- Check the box for the Team(s) Contacts you want to view and click Apply.
Sorting and Reordering Columns in your Report
Sorting:
When viewing a list of Contacts you can change the order that they’re sorted in. To do that:
1. Click the Sort by button at the top of the list
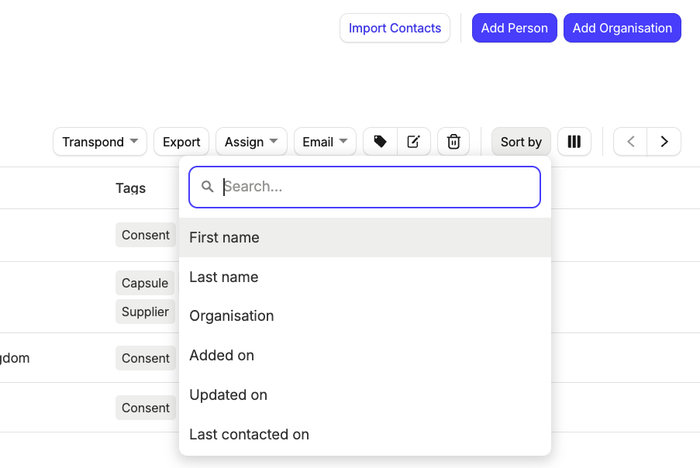
2. Click the option you want to sort by and you’re all set.
Once the list is sorted clicking on the column headers changes the ‘direction of the sort’ e.g. if you’re sorting by ‘First Name’ then clicking the corresponding column header will change it from A-Z to Z-A.
Adding and Removing Columns
When viewing your Contacts in the list you can choose what details to display or not:
1. Click the Edit Columns button in the top right corner
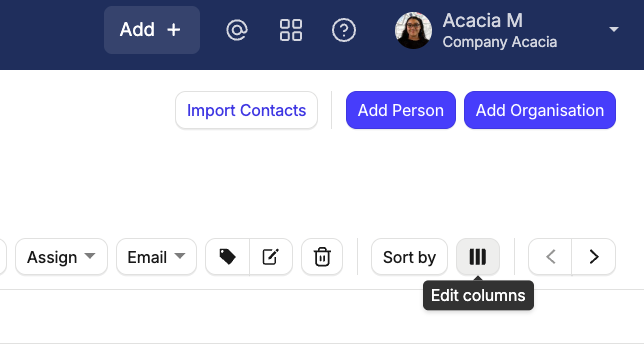
2. Now check or un-check the boxes next to the columns you want to see or not see.
Re-ordering Columns
Changing the order of the columns, click and hold the column header, and drag it to the position you want it.
Using a List of Contacts
There are several bulk actions you can apply to a list of Contacts:
- Exporting a list of Contacts
- Emailing a list of Contacts
- Adding a tag to a list of Contacts
- Adding activity to a list of Contacts
- Deleting a list of Contacts
You can check the box next to each Contact in preparation for a bulk action. Or if you want to perform an action on the full list, then choose the select all checkbox at the top, so any bulk action you perform will be for the full list.
Emailing a list of contacts
For times when you need to email a list of contacts you can filter for the contacts in Capsule and then use the Email button at the top of the list and choose the option to Email this list.
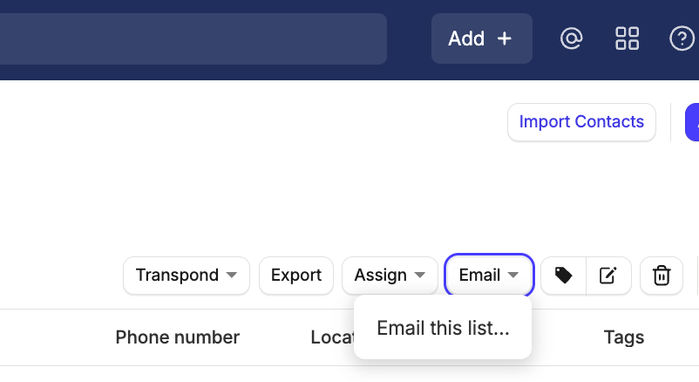
Capsule itself doesn't send emails however it will generate a recipient list of your contacts to be used in your own email client. You can click the link in Capsule to take you straight to your default email client.
For more professional results, we'd suggest using an email marketing service. This service will usually include:
- An email designer for creating professional newsletters
- A tool to check that your newsletter looks good in a range of email systems such as Outlook, Gmail etc.
- Subscriber management so that the recipients can choose to unsubscribe (a legal requirement in most places)
- Reporting tools on email opens, click throughs etc.
Capsule integrates seamlessly with Transpond, which is one of the popular email marketing services.
If you use another email marketing service then you can export your contacts to a CSV file and import it into that service or look at using Zapier to automate the process of adding contacts from Capsule to the email marketing service of your choice.
Bulk assigning Contacts to a Team
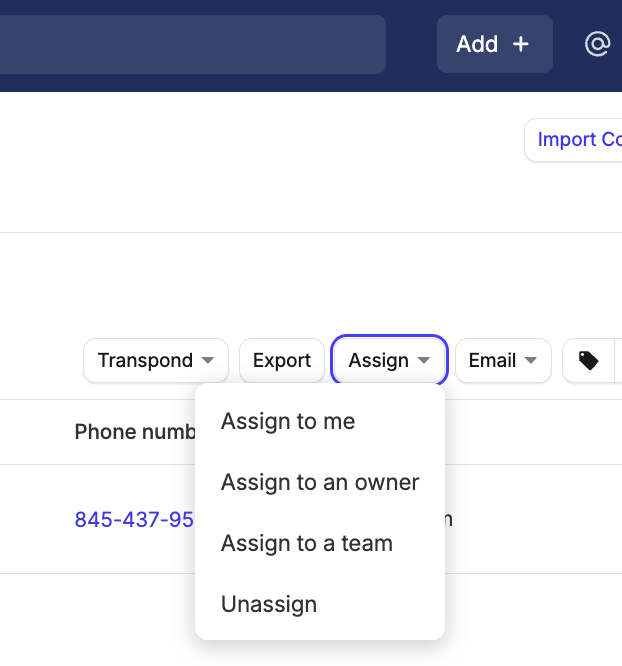
In addition to the bulk actions described above, customers on the Growth, Advanced and Ultimate plans have the ability to bulk assign Contacts to an Owner and/or Team.
When assigning Contacts to an Owner and/or Team you will be prompted to choose whether or not to assign related records for these Contacts. Related records are any open Opportunities or Projects linked to the Contacts.
Saving a Contact Report
If you’ve created a list that you’d like to come back to, then you can easily save it. After filtering:
- Choose the Save List button
- Give the list a name and choose if you’d like to share the list with the other Capsule users or keep it just for yourself.
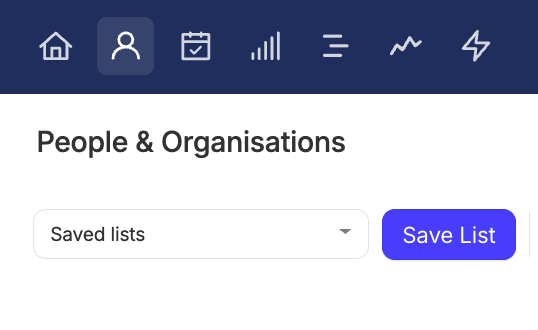
To view a Saved List- go back to People & Organizations and from there use the Saved lists drop-down menu to find it.
Modifying a Contact Report
If you already have a saved list that you’d like to change:
- Go to the People & Organizations tab
- From the Saved lists dropdown, select your saved list
- When viewing the list, update the filters to what you need them to be
- When you’re ready, select the option to Save Changes
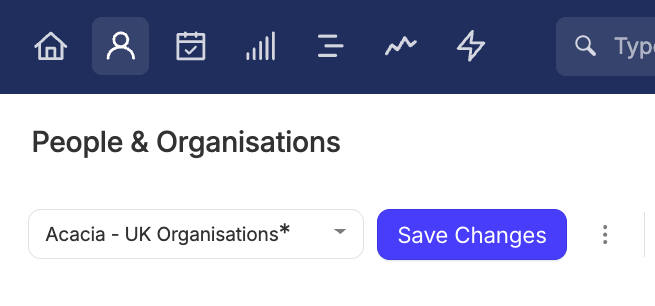
Undo updates to List filters
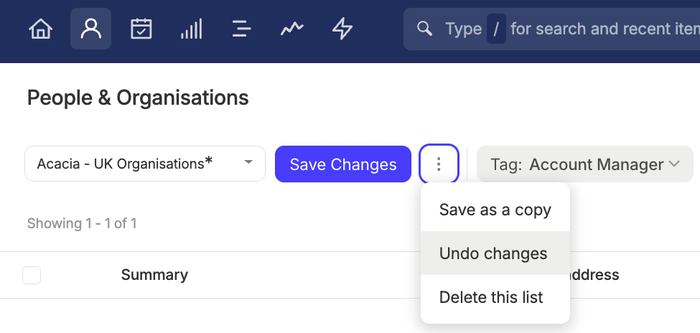
If you’ve made a mistake when updating the list:
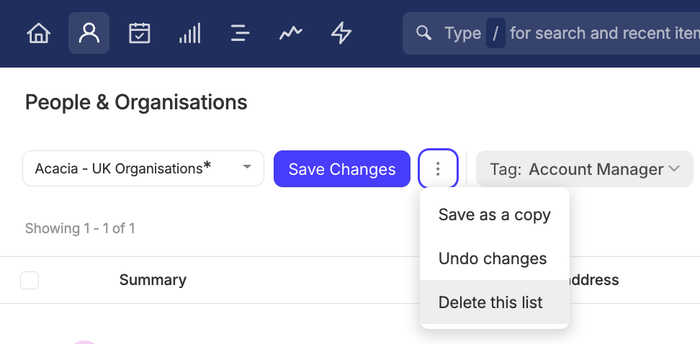
- Select the More Actions menu
- Choose the Undo changes button to undo the edits you’ve made
Renaming a List
At the moment, there’s no direct way to rename a List. Instead, you need to:
- Choose the More Actions menu
- Select the option to Save as a copy, under the new name
- Delete the old List by following the steps to Delete a Contact Report
Deleting a Contact Report
If you have a saved list that you don’t need anymore, then simply delete it.
- Go to People & Organizations select your saved list from the drop-down menu
- Choose the More Actions menu
- Use the button to Delete this list
- Confirm the deletion
