How to integrate with Google Contacts
Capsule has its very own built in integration with Google Contacts which automatically adds contacts from Capsule to your Google Contacts. This is a great way to ensure that you have your Capsule contacts at the ready when writing emails in Gmail or for when you sync your Google Contacts with your phone for example.
When setting up the integration you can choose to either add your Capsule contacts to the list of all Google Contacts or you can choose to setup a dedicated ‘Capsule Contacts’ group to help you segment the contacts in Google.
To enable the integration:
- Click on your name in the top menu bar > My Preferences
- Go to Google Settings > click on Get started under the Google Contacts Integration heading.
- Choose either the option to Use My Contacts or Use Capsule Contacts depending on how you’d like the contacts to be added to Google
- At this point you’ll be directed to a Google login page.
- Login or select the Google account you want to use and press Allow to grant Capsule access to add contacts to it.
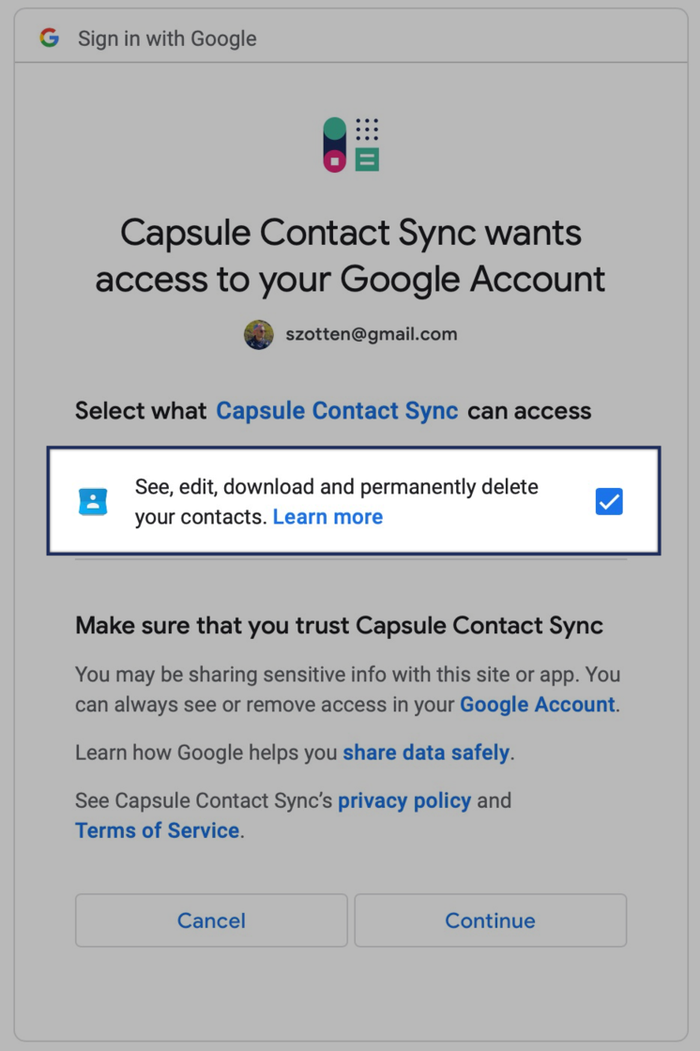
- Before pressing continue, if asked do make sure that you have checked the box to grant Capsule permission to "See, edit, download and permanently delete your contacts.".

7. Once granted you’ll be redirected back to Capsule where you’ll see a message saying the contacts are in the process of being added to your Google Contacts.
It’s important to know that only contacts in Capsule that have at least one piece of ‘standard’ contact info on it e.g. address, phone or email will be added to Google. If a contact only has a name or only has custom fields but no other contact info then it will not come through to Google.
How to open Gmail when composing new emails
By default when you click on an email address in Capsule to compose a new email, your computer or device’s default email client will open up. If you use Gmail then you can setup Capsule to instead open up Gmail for composing new emails. To do that:
- Click on your name in the top menu bar > My Preferences
- Go to Google Settings
- Under the Default Gmail Account heading, check the box to Open Google Mail when I click on email addresses in Capsule
- If you happen to use multiple Google accounts then you can also use the drop down menu to select which account to use by default.
- Click Save and you’re done. The next time you click on an email address in Capsule, a compose window in Gmail will open up.
How to connect Capsule to Google Calendar
When using Google Calendar it can be very helpful to see your Capsule tasks side-by-side with your Google events to help you plan out what needs doing, making sure there are no calendar conflicts.
Capsule generates a calendar feed for each user that you can subscribe to in Google which lets you view all your tasks in Google. To set it up:
1. Login to Capsule and click on your name in the top menu bar > My Preferences
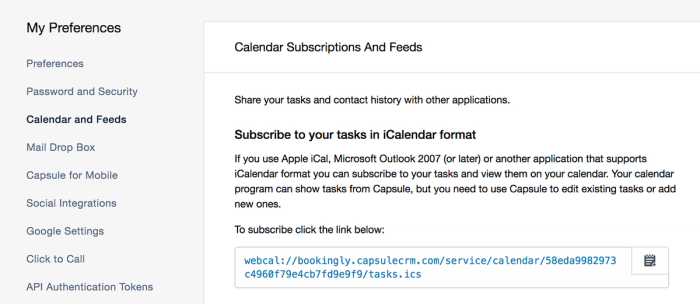
2. Go to Calendar and Feeds
3. From there, copy the link to the calendar feed - it’s the first link that starts with webcal://…

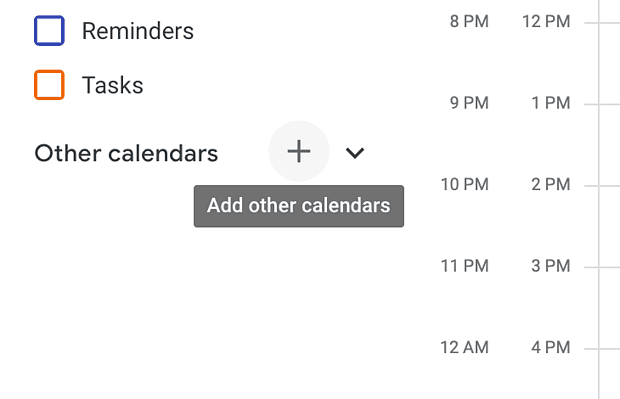
4. Then go to Google Calendar and use the + in the list of ‘Other Calendars’

5. Select From URL in the sidebar on the left
6. Paste the URL you copied from Capsule into the URL field and click Add Calendar
When you go back to your Google Calendar you’ll see one called Tasks for [your name]… and all your upcoming tasks will show up in the calendar.
This is a view only calendar which means that all new entries and updates need to be made in Capsule and then they’ll be updated accordingly in Google.
How to enable Single Sign-On with Google Workspace
Instead of having to remember and manage a Capsule username & password you can connect Capsule to your Google Workspace domain so that you and all your Capsule users login to Capsule using your Google login details instead.
If you already have a Capsule account then you need to do the following:
- Make sure to update the first email address for each Capsule user to match the email address that you each use to login to Google with. It’s important that they are all on the same domain in order for the single sign-on integration to work
- Then the Super Administrator on the account needs to email Capsule Support with your Capsule account URL and the domain that you want to connect it to and they’ll help with the next steps. Part of the process is to confirm that you have access to both send and receive emails to/from your Google email address. Our support team will help get that confirmed.
Problems enabling Single Sign-On
If you get the message “Currently this single sign-in feature is disabled for the domain…” when trying to log into your Capsule account it indicates that single sign-on has been disabled on your domain and must be re-enabled in order to access Capsule via Google Workspace single sign-in.
To enable:
- Visit Manage this domain
- Click More controls at the bottom
- Go to Security
- Click to Show more Advanced Settings
- Go to Federated Login using OpenID and check the box to allow.

How to disable Single Sign-On
To disable Single Sign-On on your Capsule account the Super Administrator needs to email Capsule Support and our team will help get that done
Looker Studio
Looker Studio integrates with Capsule so you can easily design your own reports based on sales opportunity data from Capsule. Using the Looker Studio Connector means you'll have additional data points available that aren't usually available in Capsule, allowing you to create reports based on data such as the number of days it takes to close a deal.
You can combine those reports with other supported apps in Looker Studio to help you get a big picture view of your business from a range of data points.
Looker Studio is available to users on the Growth, Advanced and Ultimate plans and if you don't already have an account you can sign up to Looker Studio here.
We have a dedicated section on Looker Studio that goes into more details on how to set it up along with steps for how to create a report and blend data between different Capsule data sources.